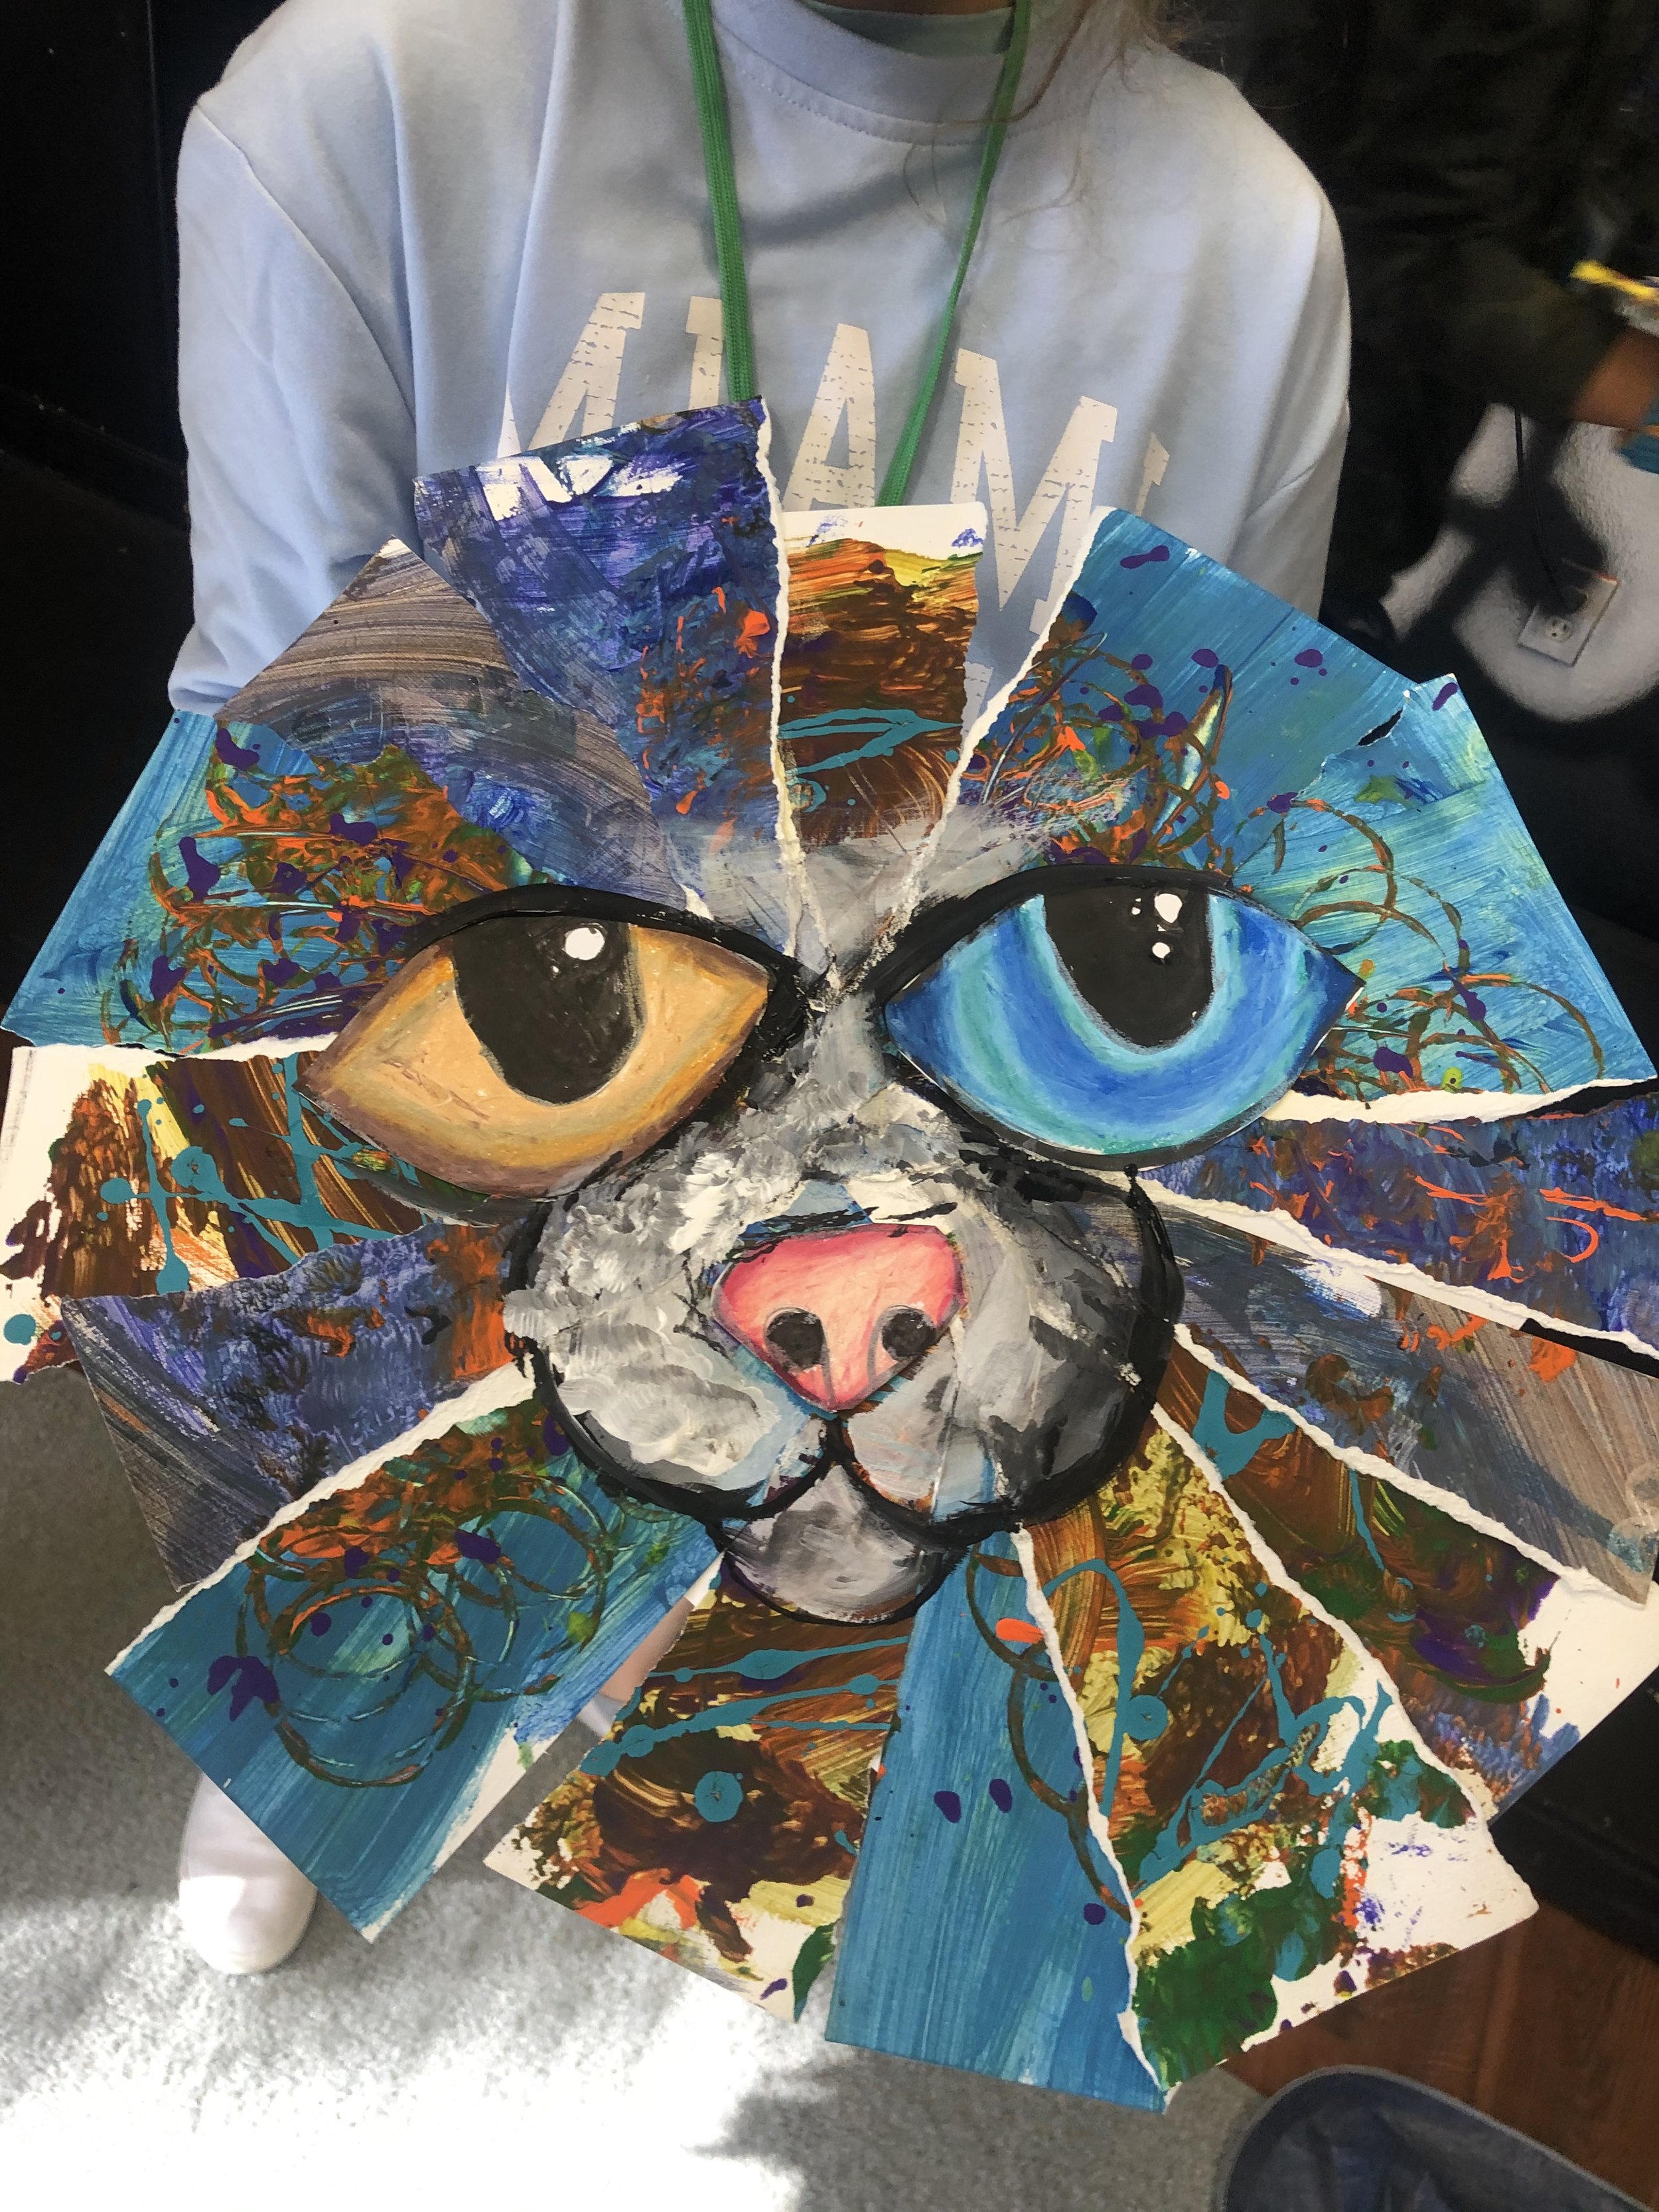
Animal Collage, Mixed Media Animal Collages, Art Lesson, 3rd Grade Art Lesson, 4th Grade Art Lesson, 5th Grade Art Lesson
The Animal Collage project took three weeks to do. Every day we did a different part of the piece.
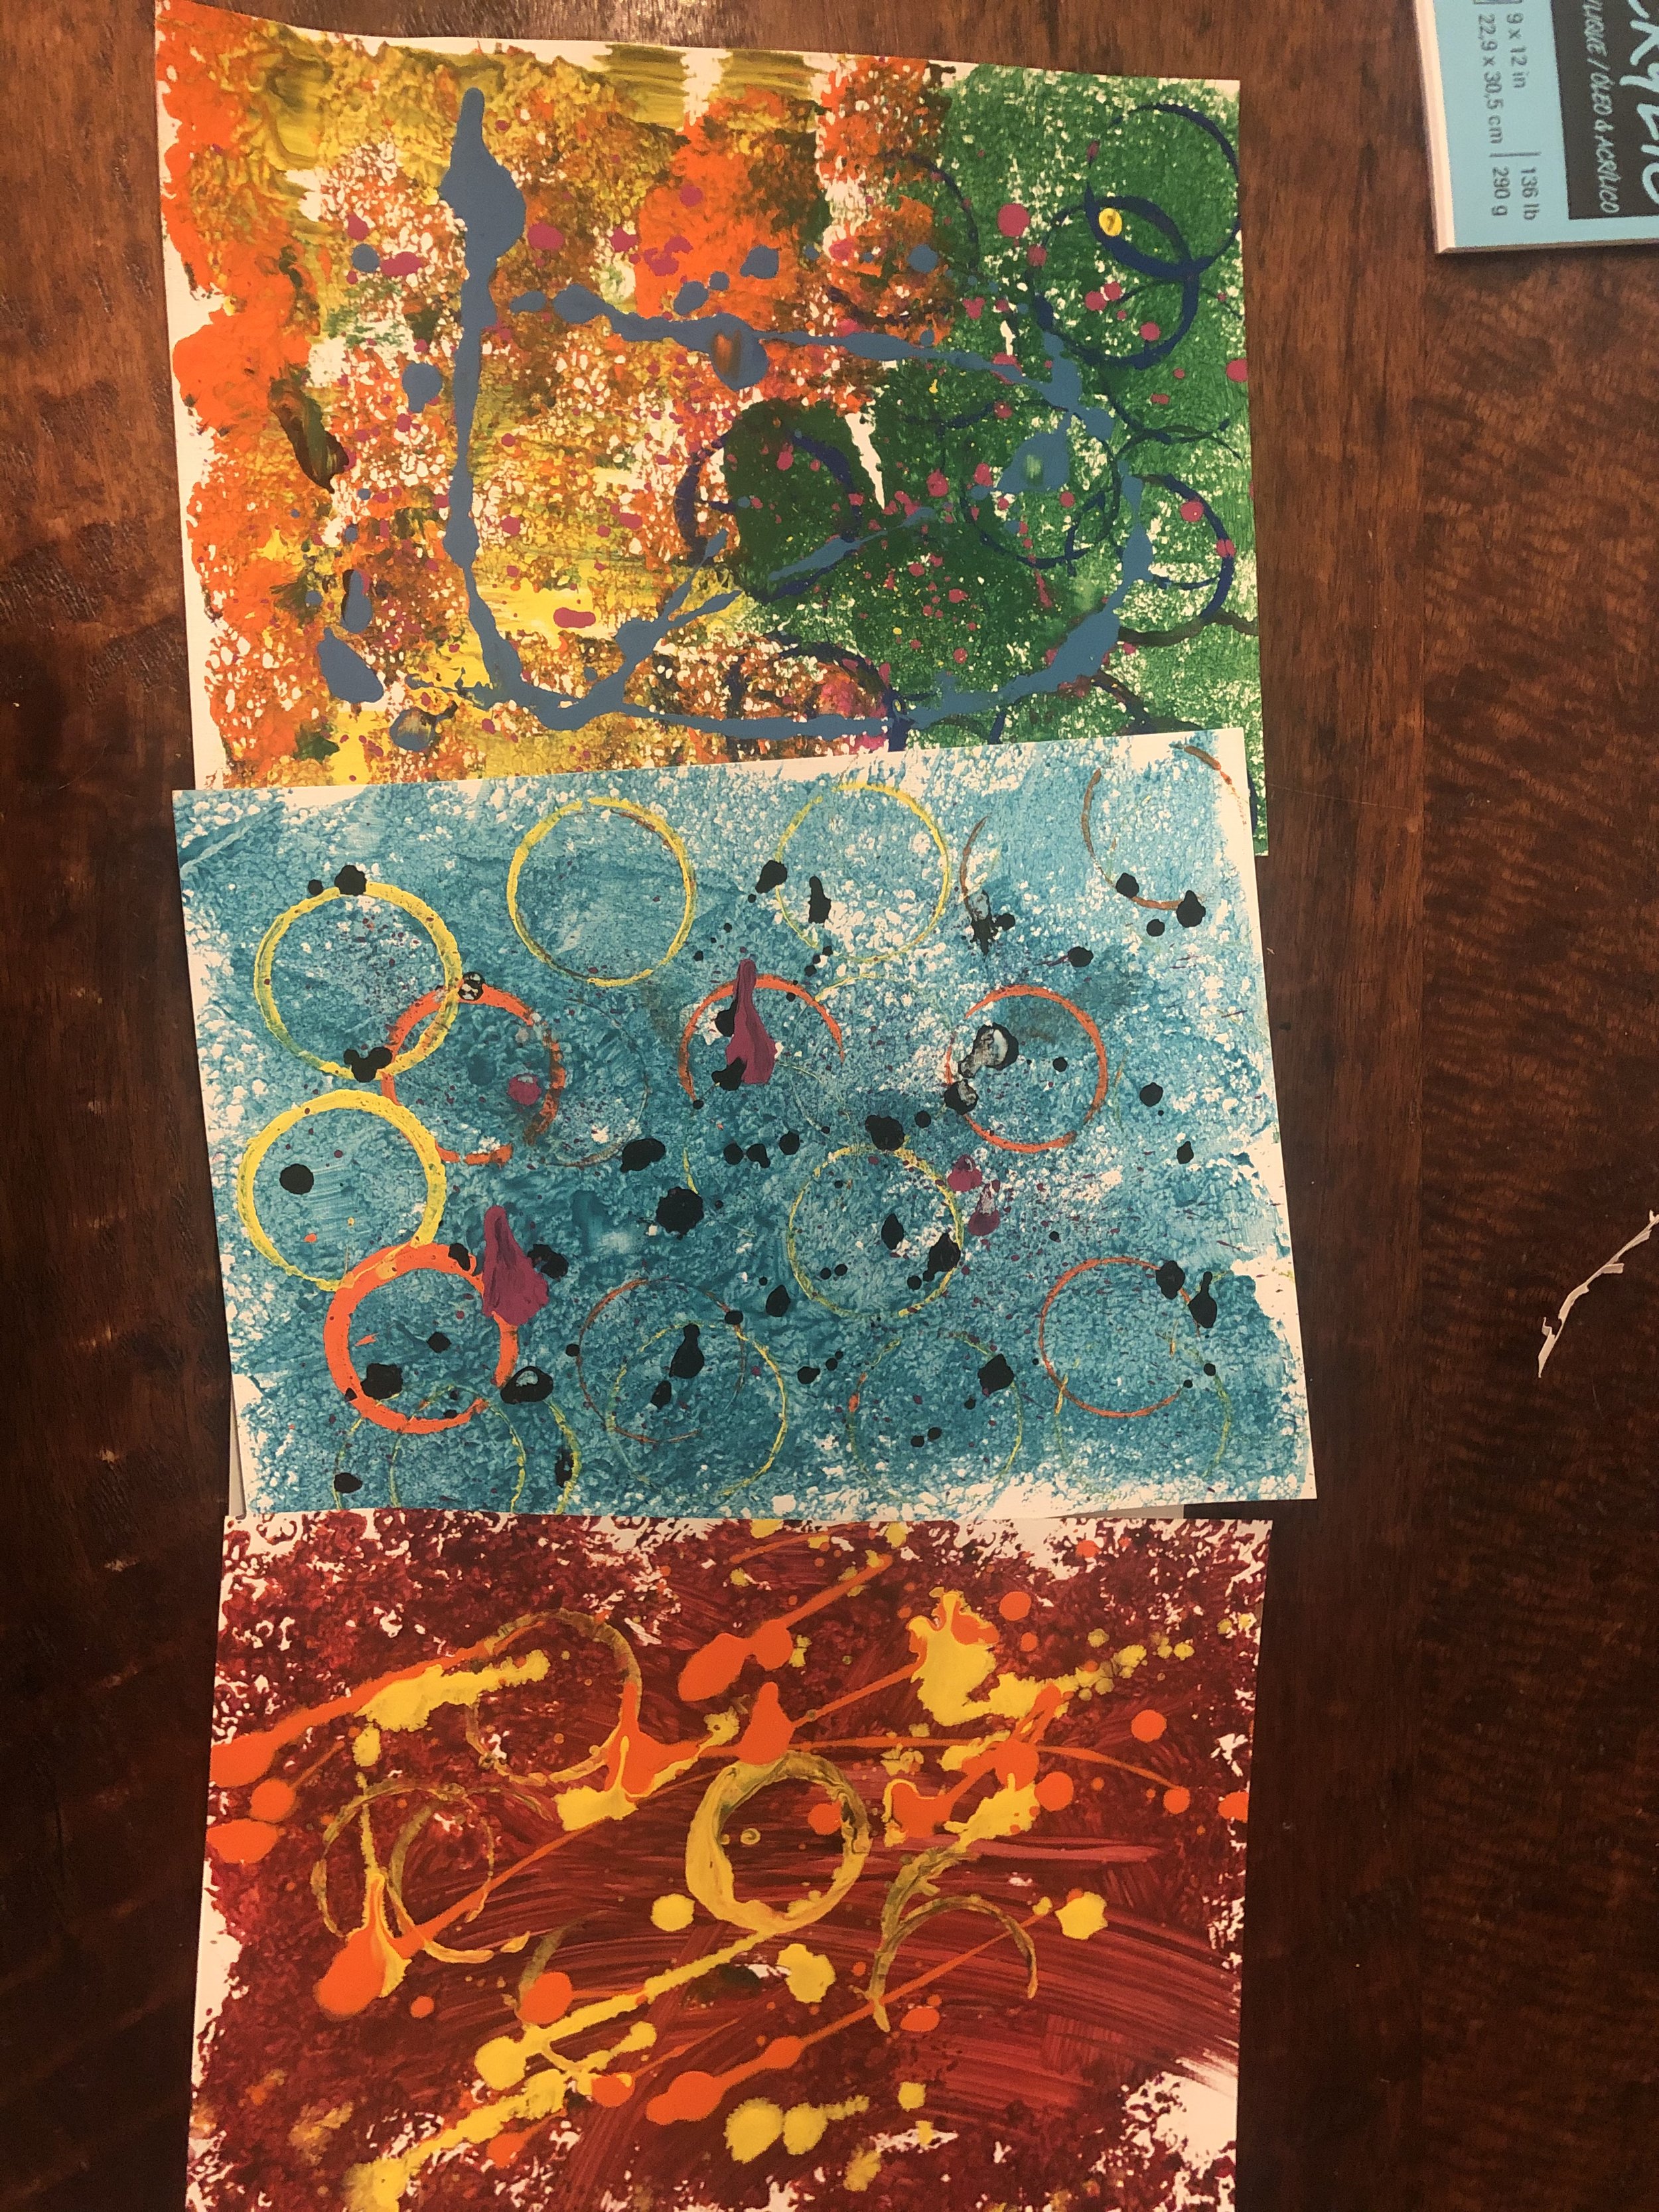
Fist Lesson: We learned about Jackson Pollock.. He was an American painter and a major figure in the abstract expressionist movement. He was known for his “drip techniques" of pouring or splashing liquid household paint onto huge canvases on the floor. These paintings were called action paintings, and he said he wasn’t painting, but performing, since he covered the entire canvas and used the force of his whole body to paint, often in a frenetic dancing style. This extreme form of abstraction divided the critics: some praised the immediacy of the creation, while others derided the random effects, did not recognize him as an artist at all. He wasn’t very happy growing up and continued not being happy all of his adult life. He died when he was 44. I borrowed a few books from the library and read a book to the students from a “student” book, not covering his personal life. In 2016, Pollock's painting titled Number 17A was reported to have fetched US$200 million in a private purchase. wowza.
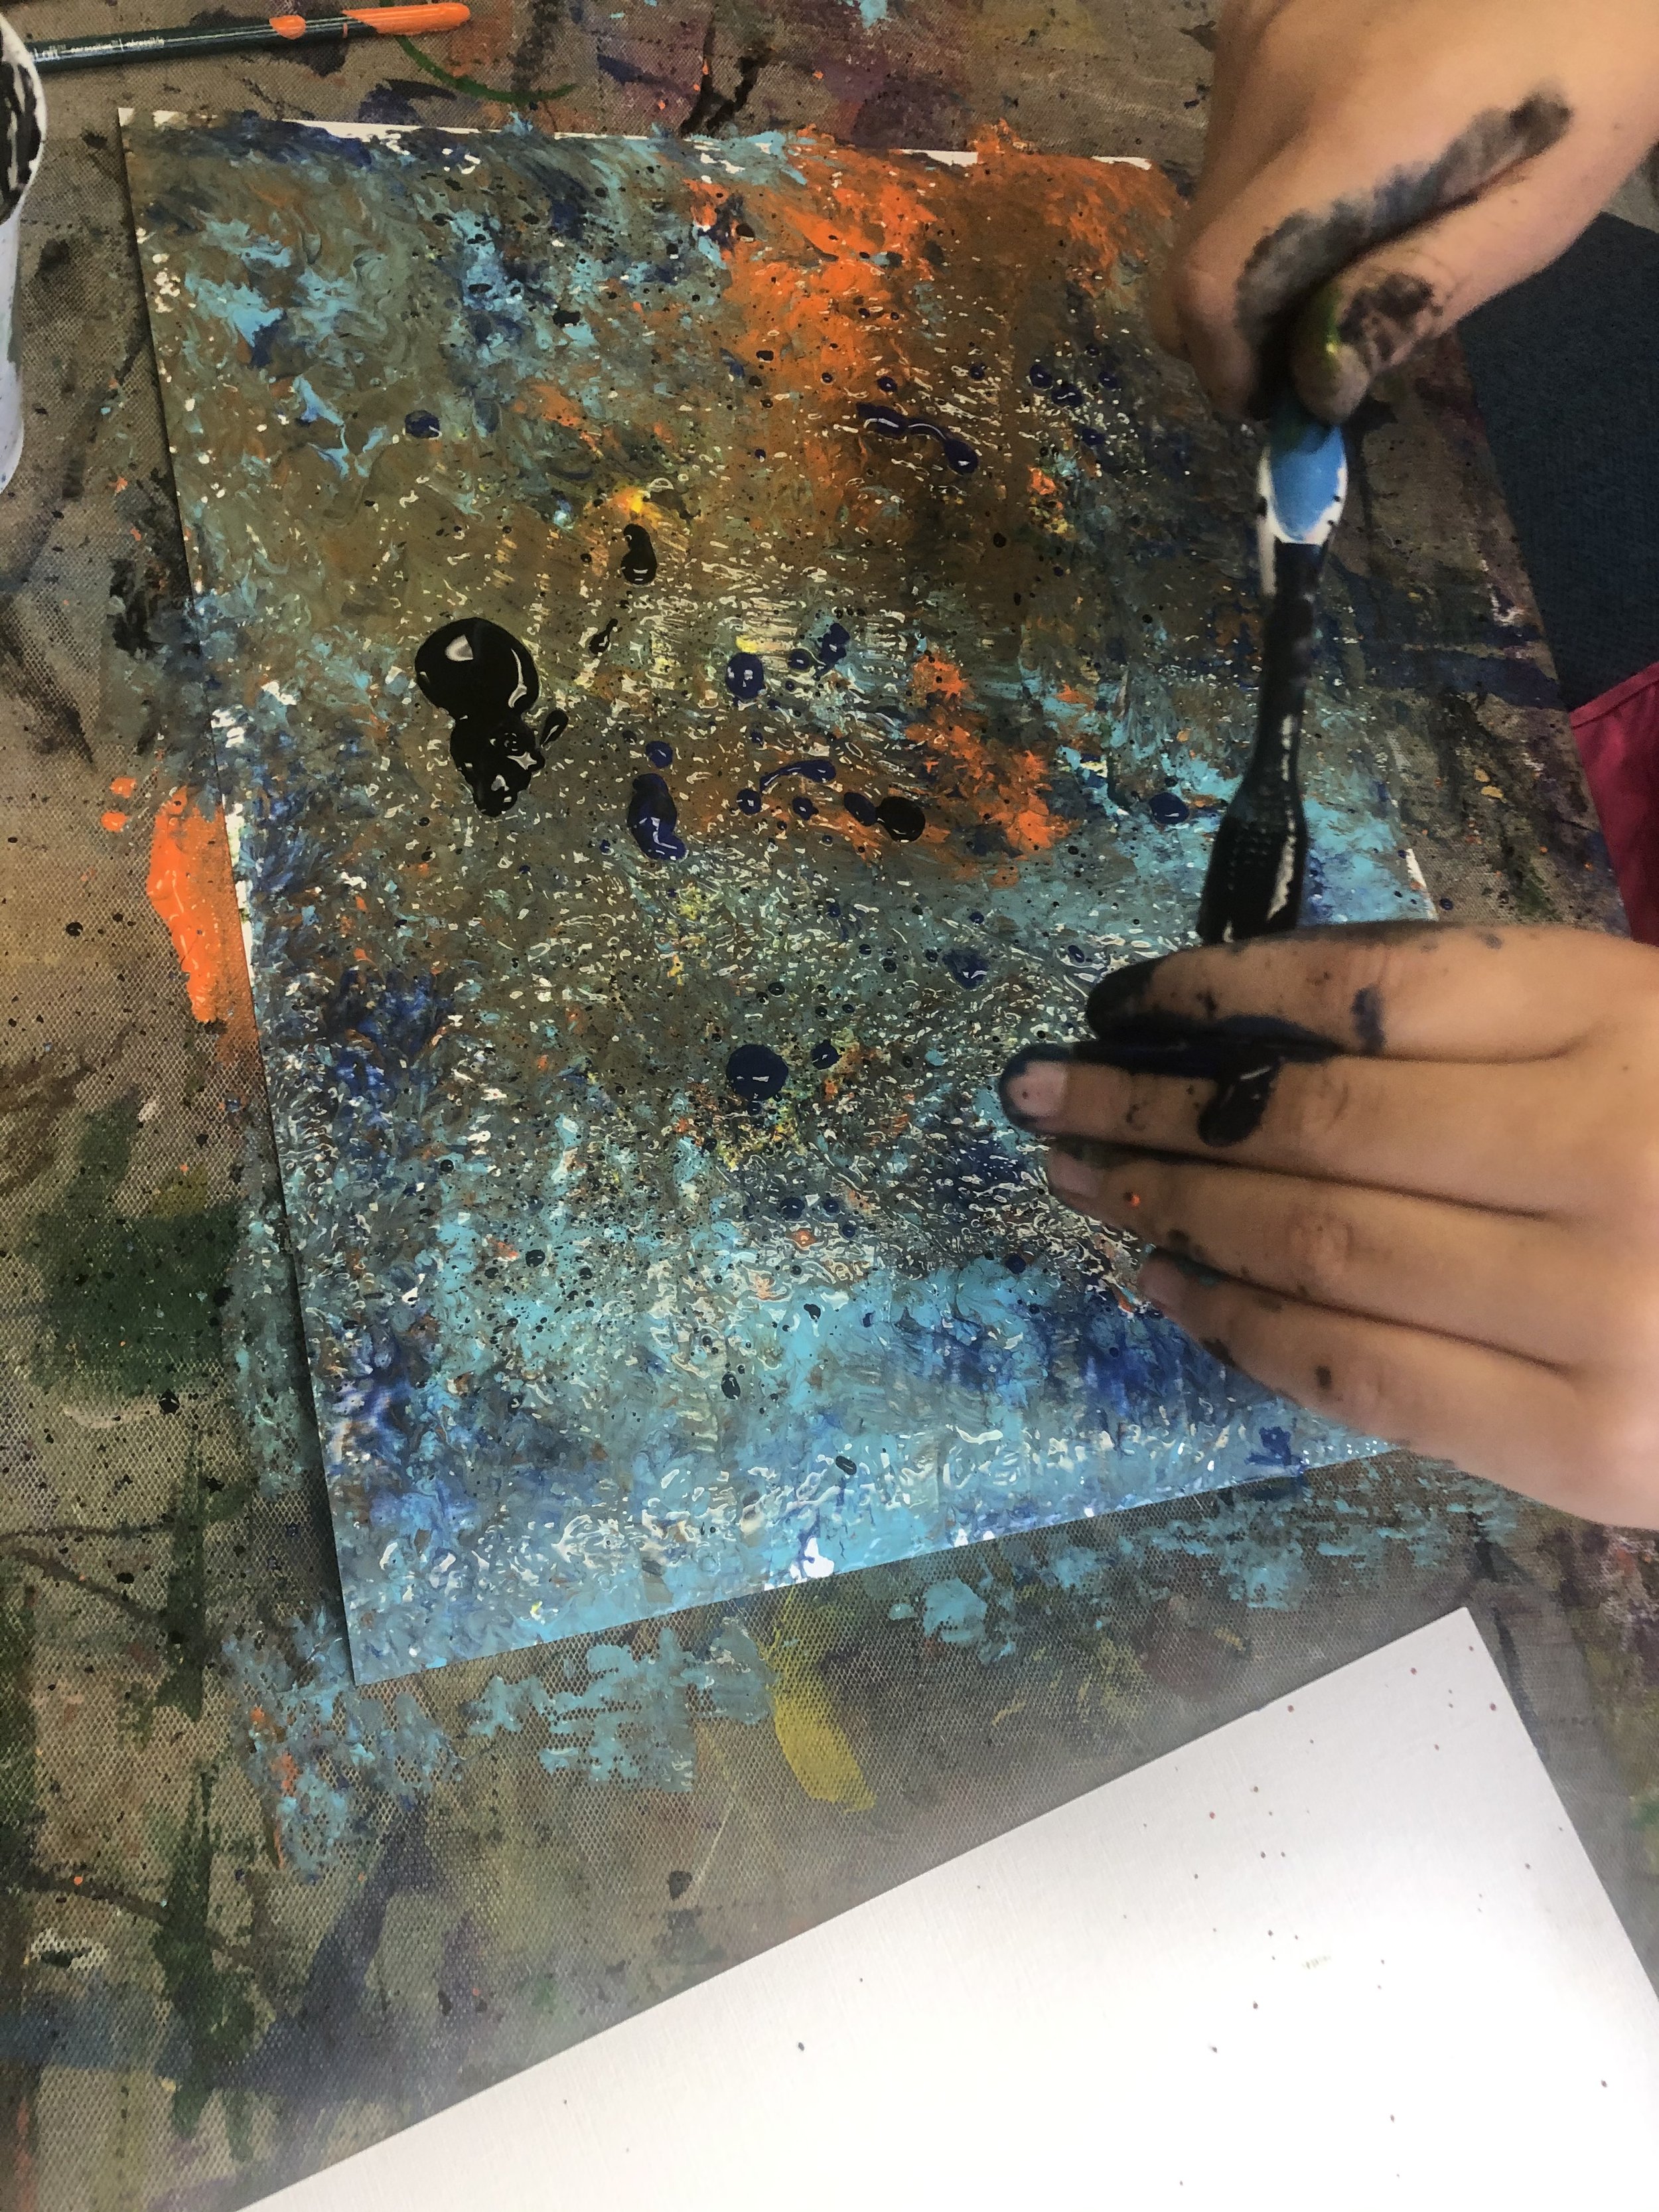
In class we “Jackson Pollocked” three pieces of Acrylic paper with tempera paint and did splatters with acrylic paints as well.
The original project we got inspo from is Elementary Art Fun Blog .
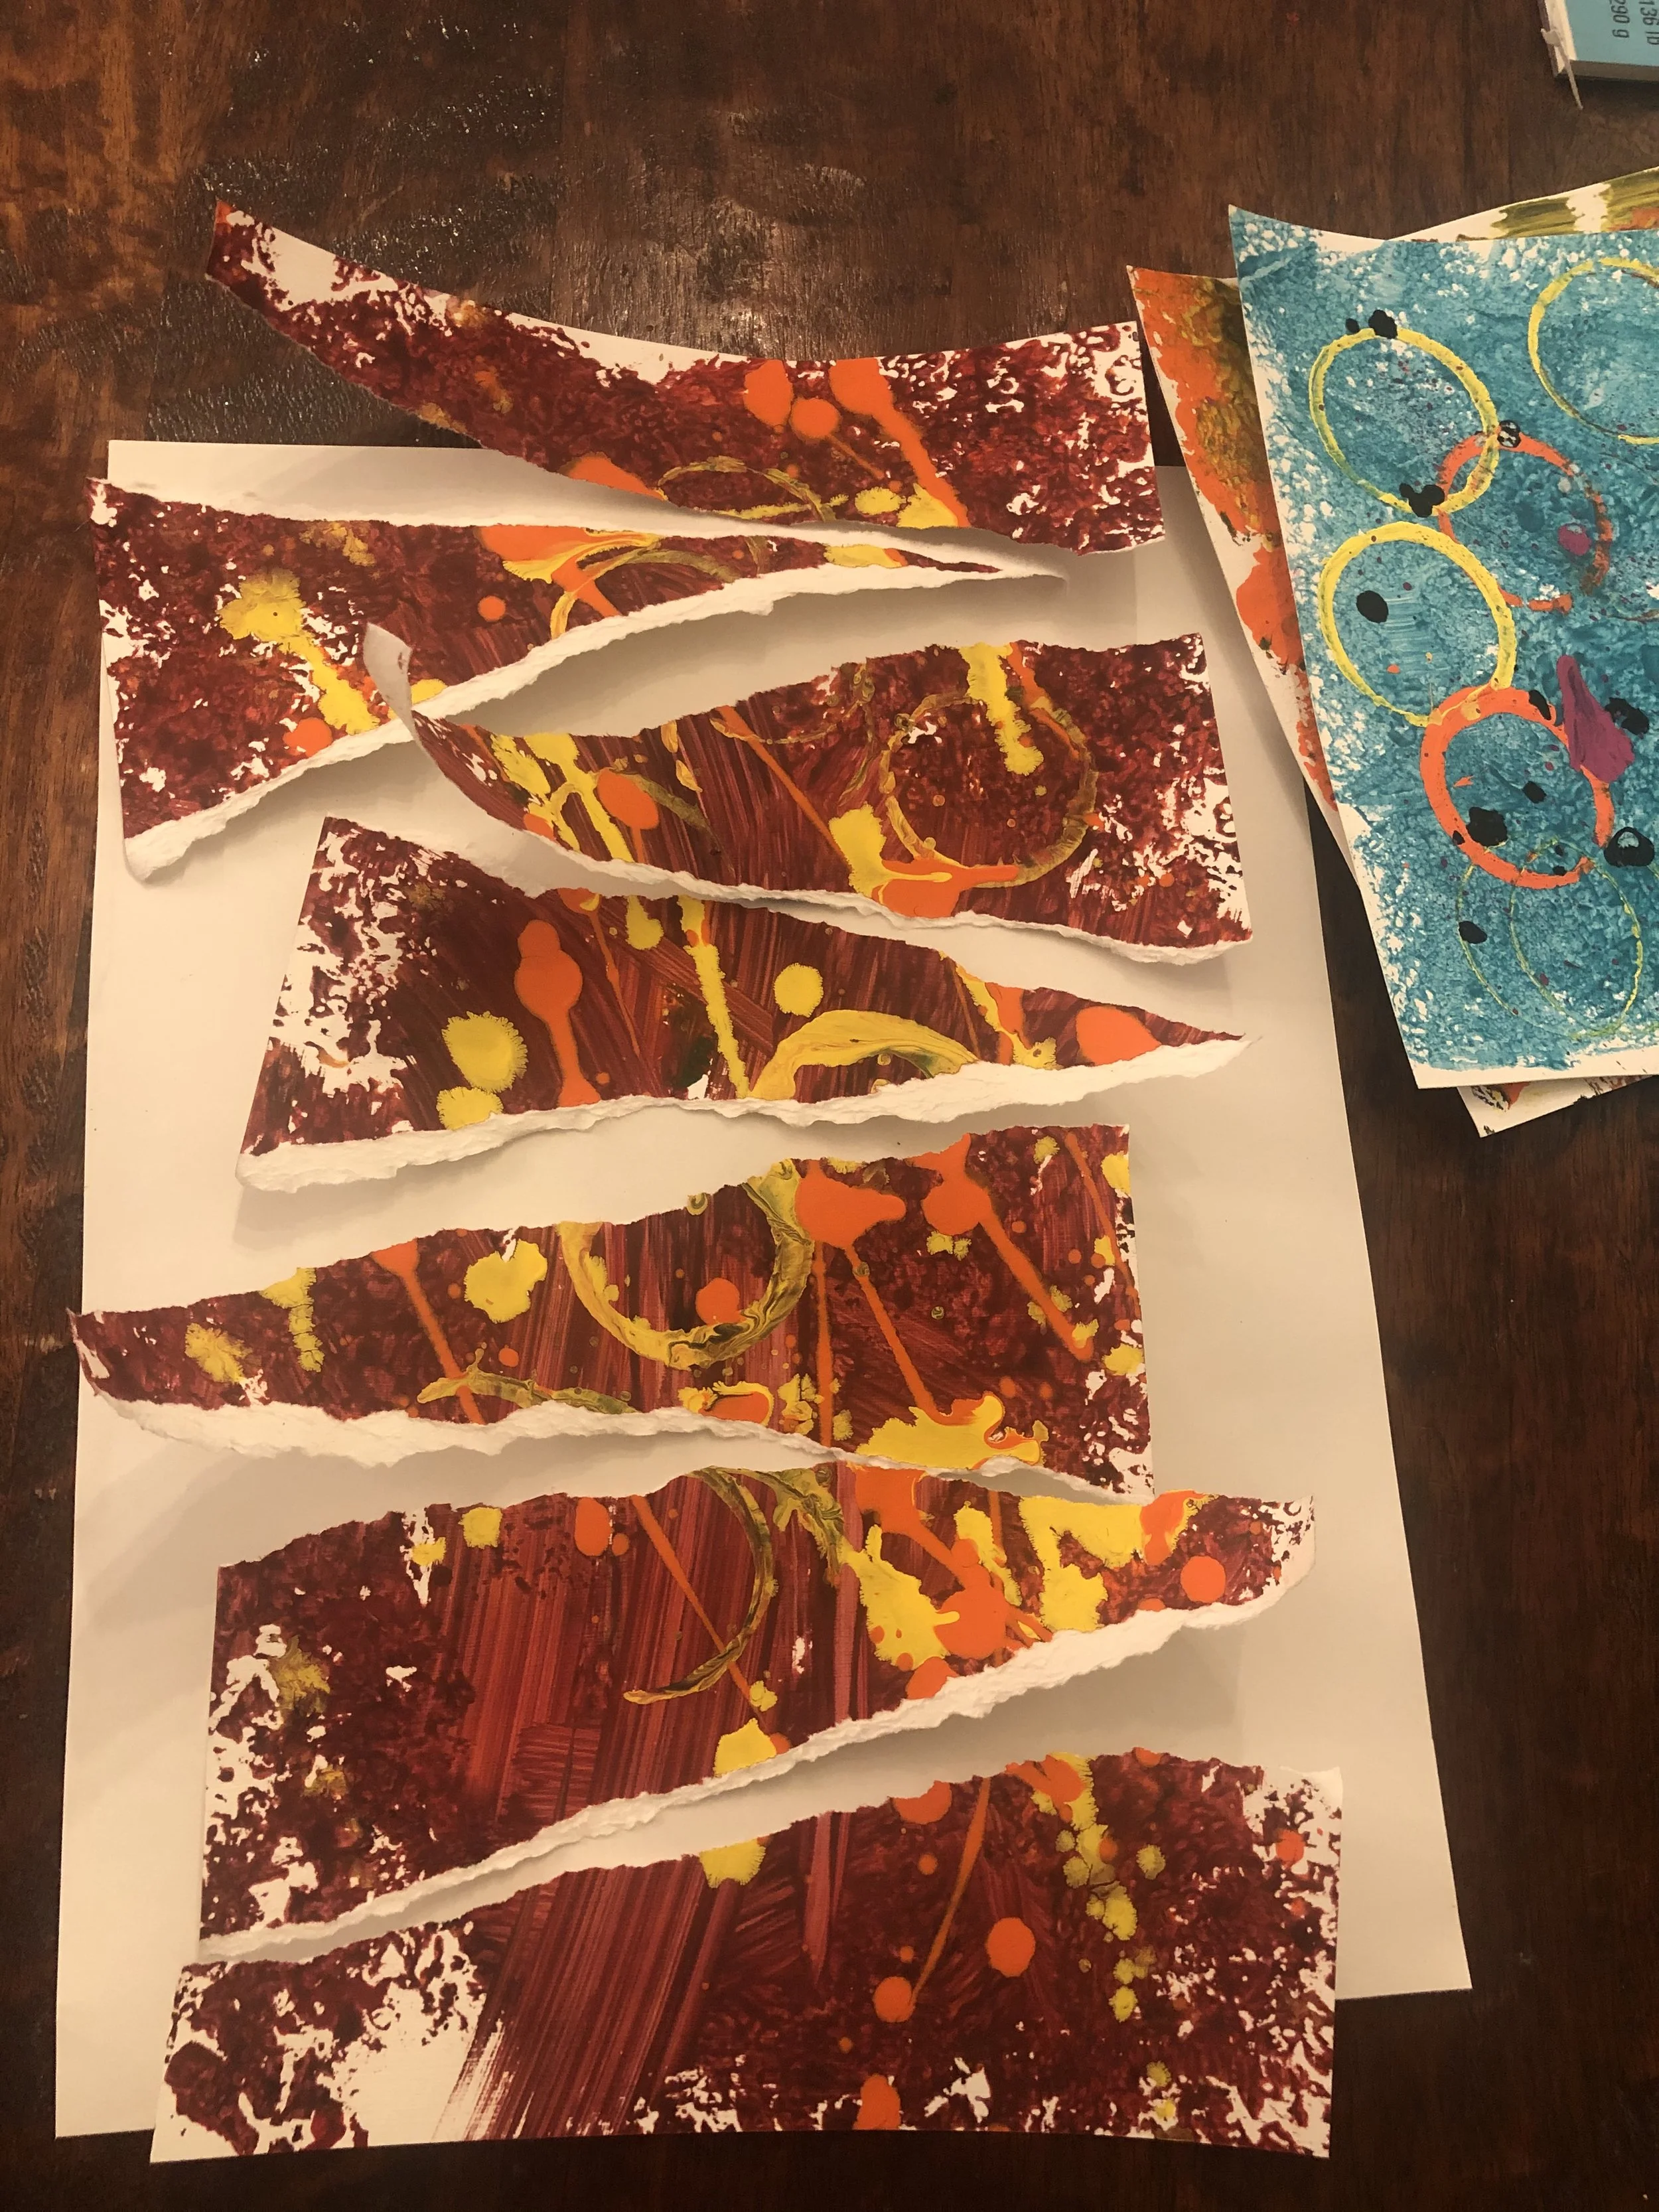
Lesson 2: We ripped the three “Jackson Pollocks”! Focus on ripping them in triangular shapes. For the younger classes we had the kids use rulers to draw the triangle pattern on the back and use the pencil marks to rip the paper. In the older class we used rulers to help the student guide the paper rip. I tell ya, some student had a hard time ripping paper. We had to really direct them to use their non dominant hand to guide the rip. After they ripped the papers we glued them to a mixed media paper in a circular direction, around that paper, pointing to the middle. Glue sticks work the best.
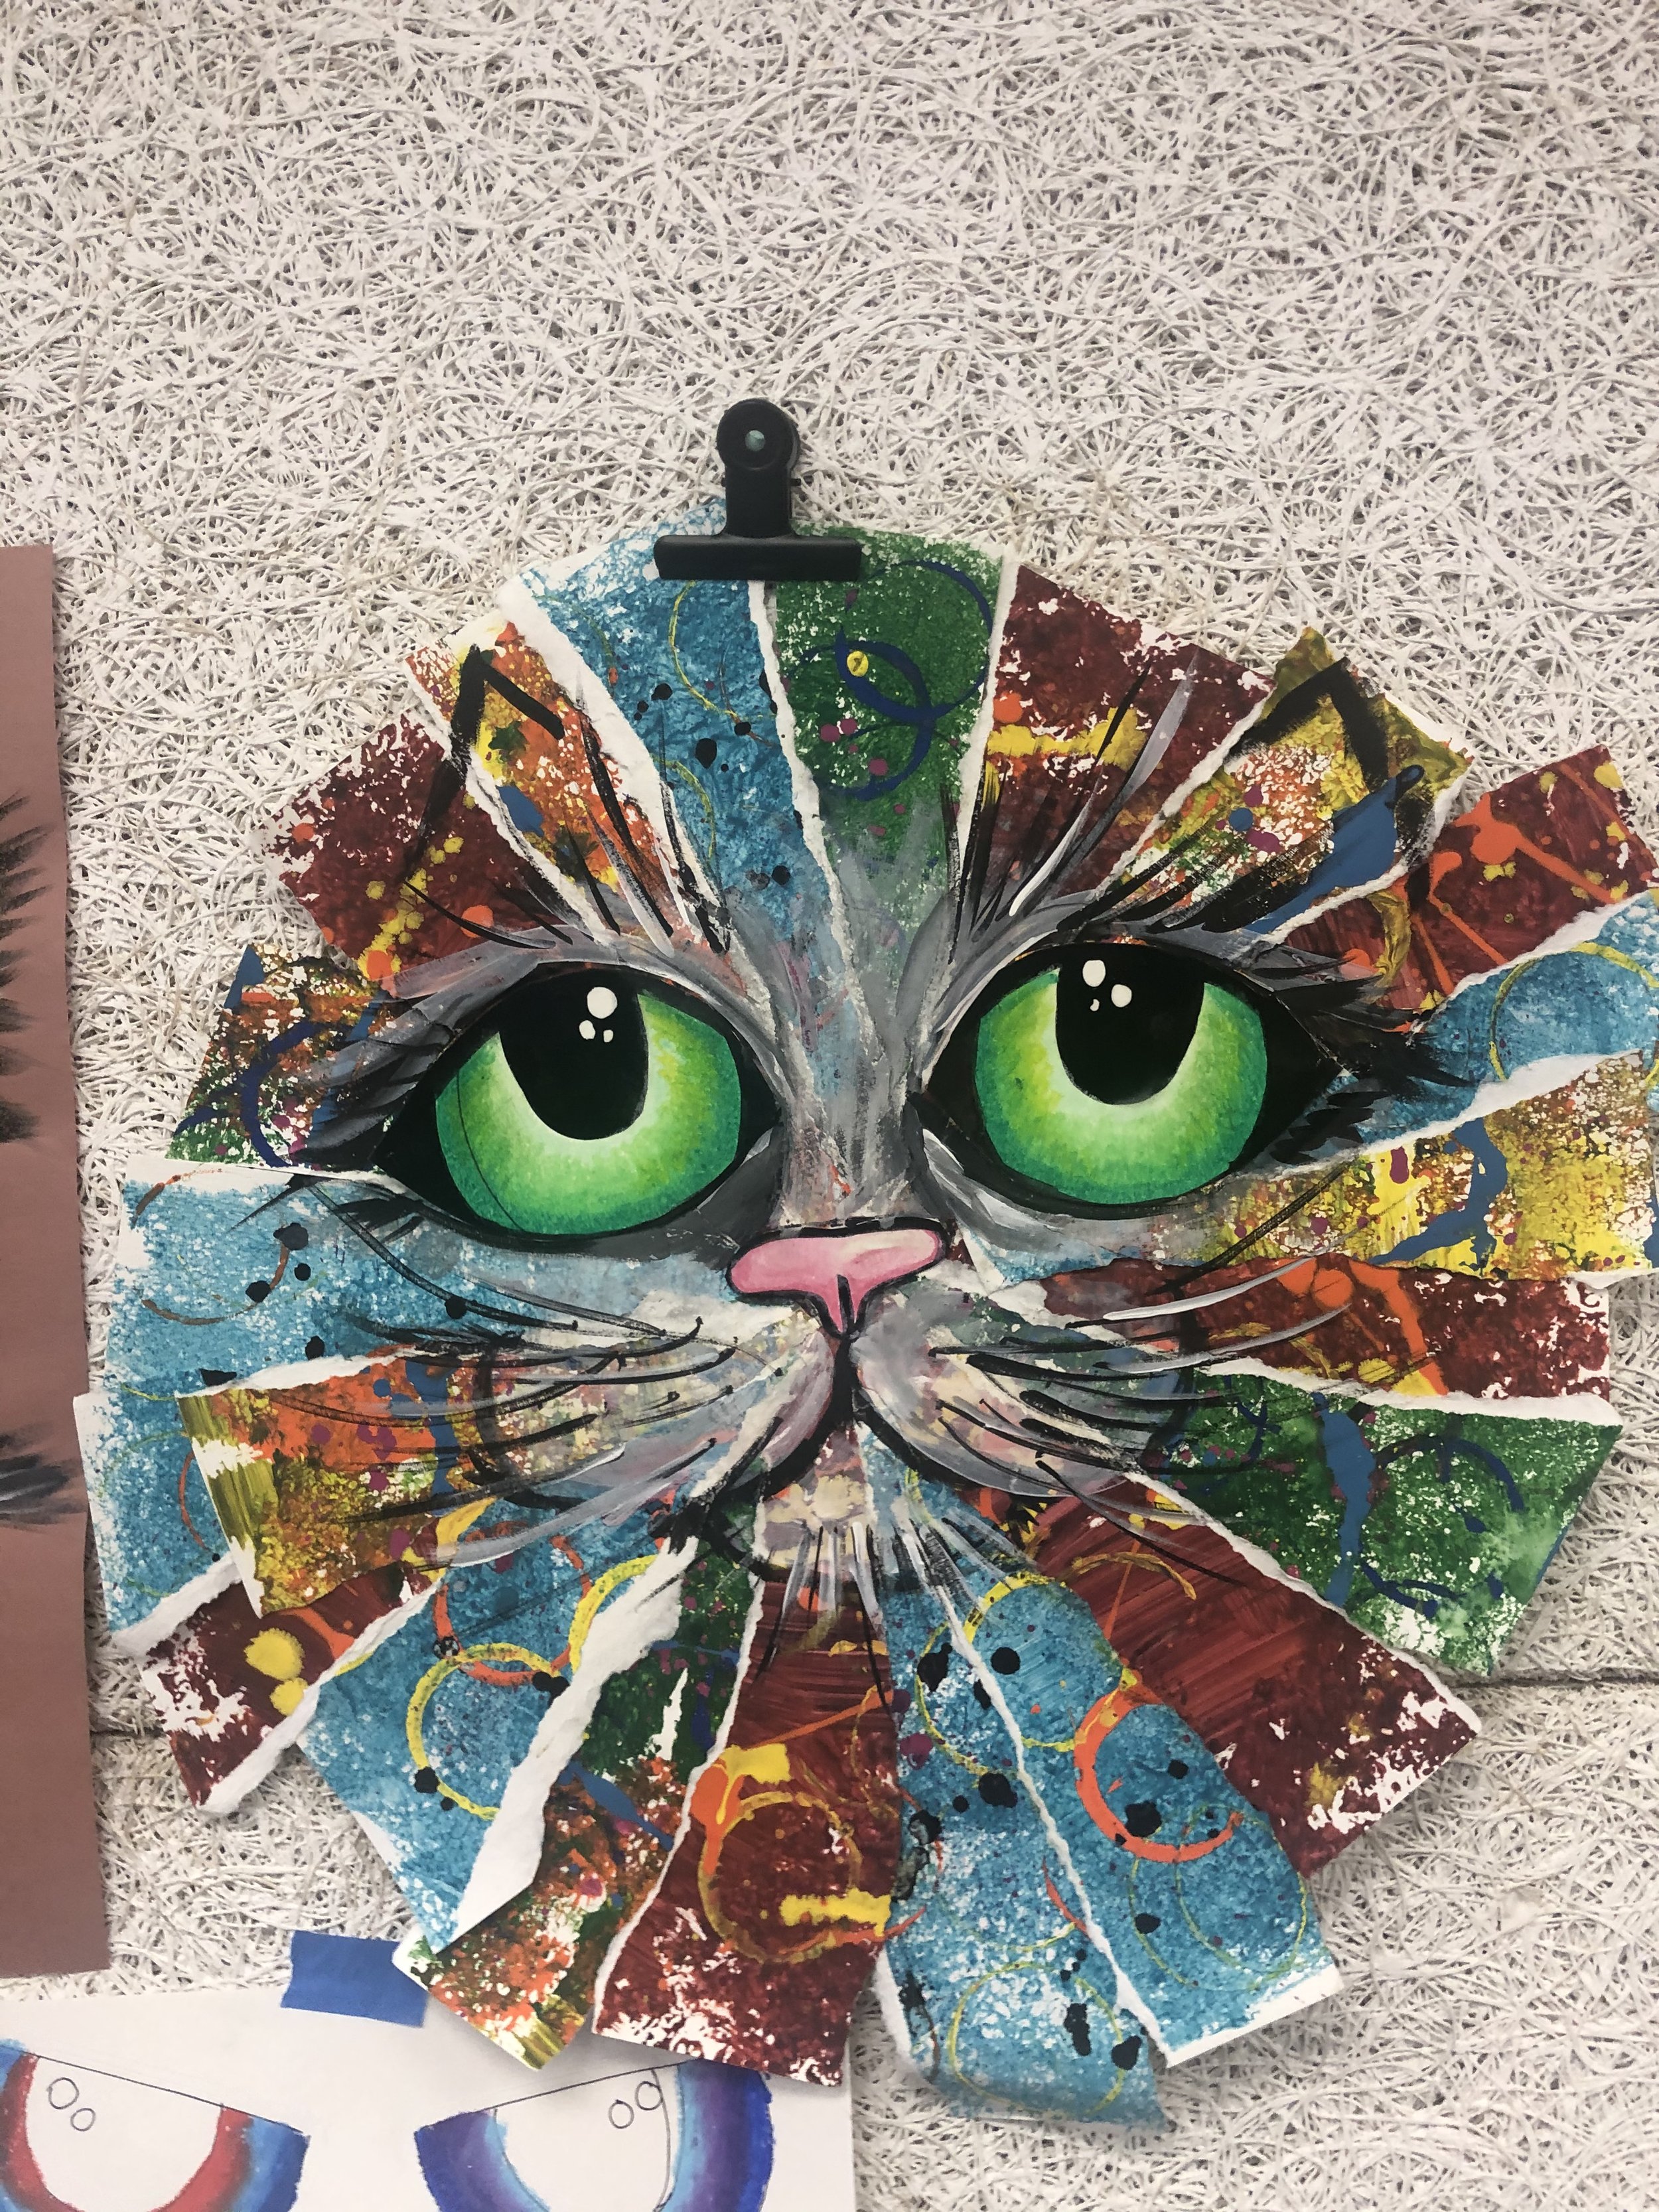
Lesson 3: I made some tracers for the students to use of eyes, noses for a cat and dog and different size beaks.. Some students were able to trace the eyes and noses the second lesson after they ripped and glued their backgrounds. We used India ink to ink the black parts of the yes and noses. I’ll post a tutorial on the eyes and noses below. For the iris of the eyes we used oil pastels. I reminded the students that oil pastels get to be blended with other oil pastels as they color in the eye, not fingers. Focus on covering every bit of the paper as the student blends, pressing the pigment of the oil pastel pretty hard on the paper. Then they cut the eyes and noses/beaks out. glued them on the “Jackson Pollock” backgrounds. Then we took only black and white paint and added highlights, shapes of faces of the animals and nose bridges. I did provide examples of the animal faces on the board. These turned out so cute! eyes and nose tutorial:
At the very end I painted the eyes and the nose with a gloss varnish, I’ll link it in the material list below. It made the eyes clear glossy.
I am part of the affiliate program with Amazon, so I’ll link everything with amazon below.
I do love these oil pastels, I think they are a great deal and are a great quality.


